Pt 2: Picking my shelf back up
Ok not going to lie; finding out that the model I made was too big for the printer that hurt.
Finding out that the design I made was too big for the Colab's 3d Printer was actually painful. So, after sitting at the computer for 5 minutes weeping my eyes out, I mean staring into the lifeless void, err trying to think of a way to salvage the design and not looking up 3D printers with an appropriately sized build area. I decided I could rework my design to fit within the build area and see what I can come up with, so first thing is first I had to discover the build area I was working with. I then dutifully looked up the series and model number of the printer and OF COURSE NOT! What I actually did was take the tray that could no longer work and distorted the sizes until they hit the limit and recorded that number. The software we have will gray out the object when it cannot be built, so I just morphed the tray I made like it was a stress toy until it fit the area completely and could still be able to print.
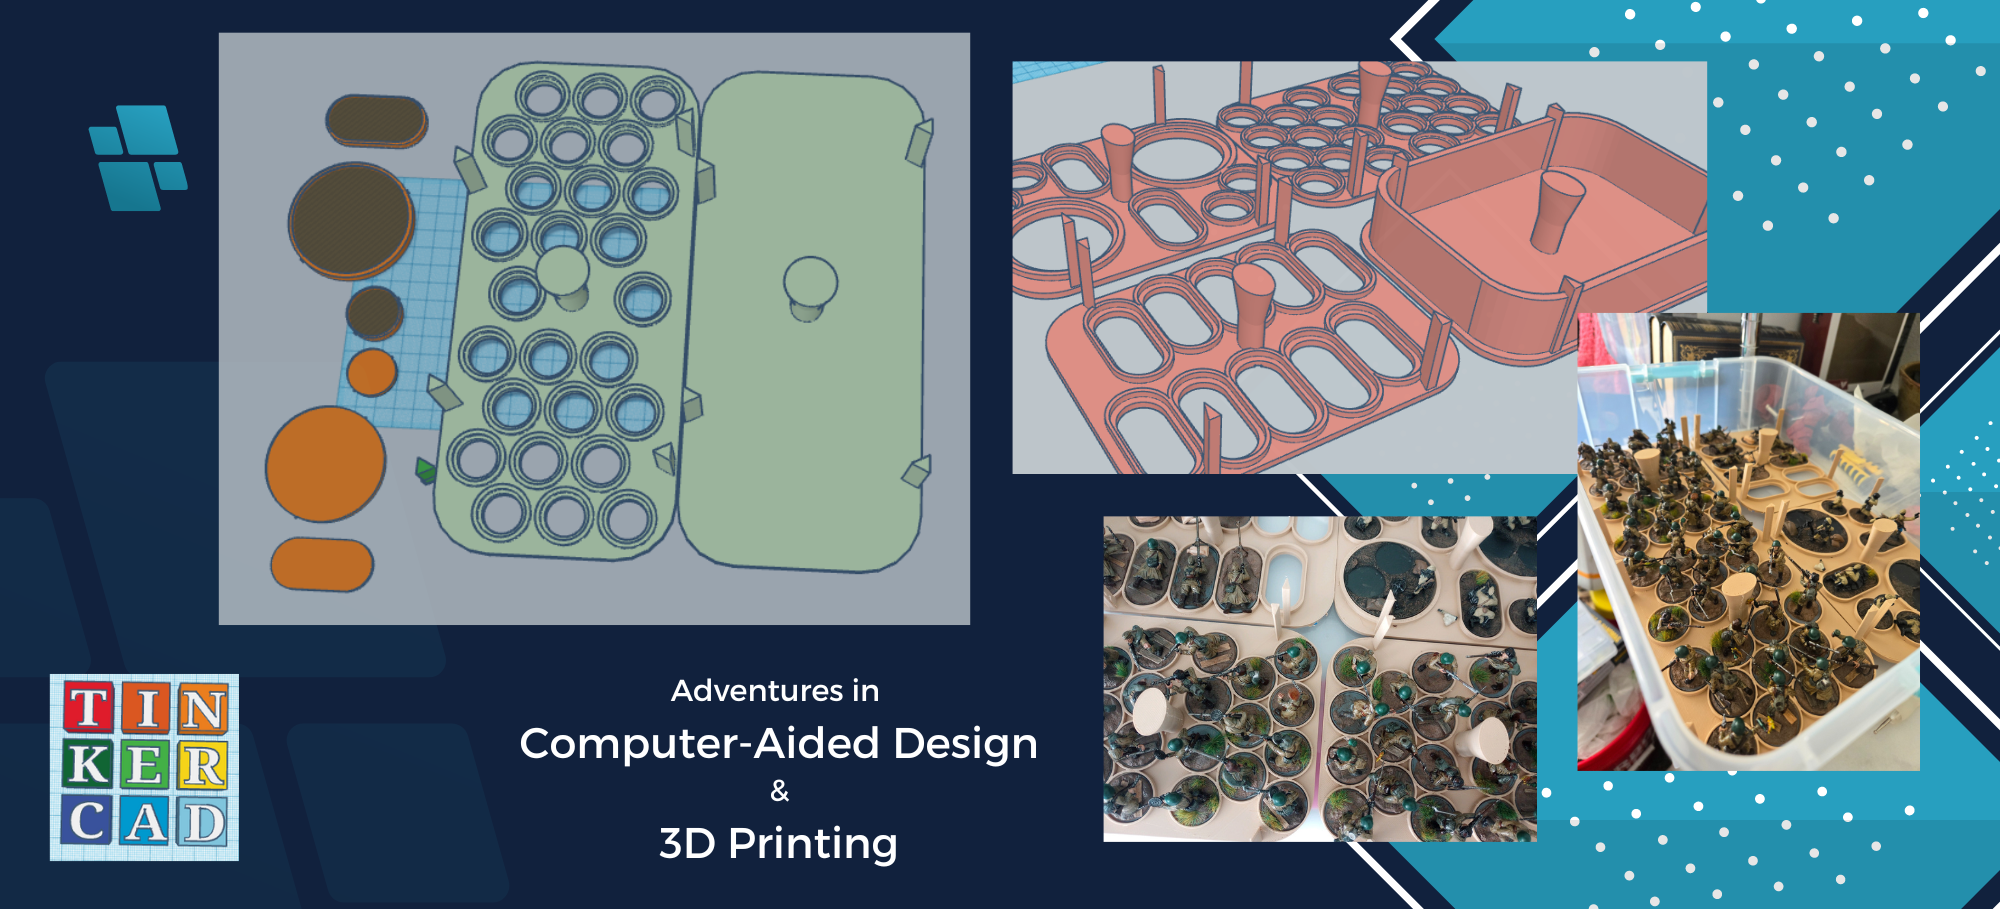
Having found the new dimensions, I than decided to rework the trays from a 3-by-1 arraignment to a 2-by-2 that could also stack to a second layer. I then took the sizes of the carry box and just halved them and proceeded to resize the default try I had made (this is a hint of the future to come). This was a blank tray I used as a template for making the various trays plus I would not have to restart from scratch, cause why fix what isn't (probably) broken.
Now I had to create a new layout of ring inserts and after about 10 minutes, I got better this time around, and was able to fit 24 minis, 12 on each side. Three rows of four ring inserts slightly offset, this made me excited because that meant for one of the armies, I have will be able to hold an entire squad (12 men) without having to have a few floating around on a different tray, because that would feel like a larger hassle than I wanted to experience.
As I am getting into the swing of getting the trays made finished, I recalled that I also had another type of mini base that I had not modeled yet. This type is called a pill type, it is used as a prone base for infantry, think a machine gunner in the rubble or artillery spotter in the grass, it can make some great visuals. Here I was kind of worried a bit, I decided I would take two copies of the 25 mm base template I made, created a box that will bridge them, and then merged them together. Ok it sounds a lot easier than I made it out as I had to fiddle a bit with getting the edges of the box to line up with the circular base, I had adjusted the increments down to .1mm to get everything just right. Creating the ring insert was just the same as the 25mm I mentioned in my last blog.
Now with this pill ring insert I got to making a new tray for this type, now I had eight of these bases and really wanted to add this to a single tray if I could, and I knew I can get four 25mm in a row and make that easily into two rows of three on each size for a total of 12 and I would have room to grow in the future. I was excited as I set out to remake the 60mm and 25mm support tray, but I wanted to add the new pill inserts too. Here was some unique experience so far because the 60mm needed a lot more of the limited space. I was able to fit three bases with six supporting 25mm and two of the pill inserts, making me quite excited for future expansions of my armies.
Now I have this great collection of potential trays I knew it was time to print. I got the model downloaded and inserted into the 3d printing software and set print. Now I just had to wait 5 and half hours for the print to finish, but I brought the carry case to the library to check it once it was finished...I am a bit impatient.